Creating stunning 3D models can seem difficult, but it’s easier than you think once you understand the process. In this article, we’ll show you how to create stunning 3D models by breaking down the steps and offering helpful tips. Whether you are a beginner or looking to improve your skills, these techniques will help you design beautiful 3D models for any project.
1. Choose the Right Software
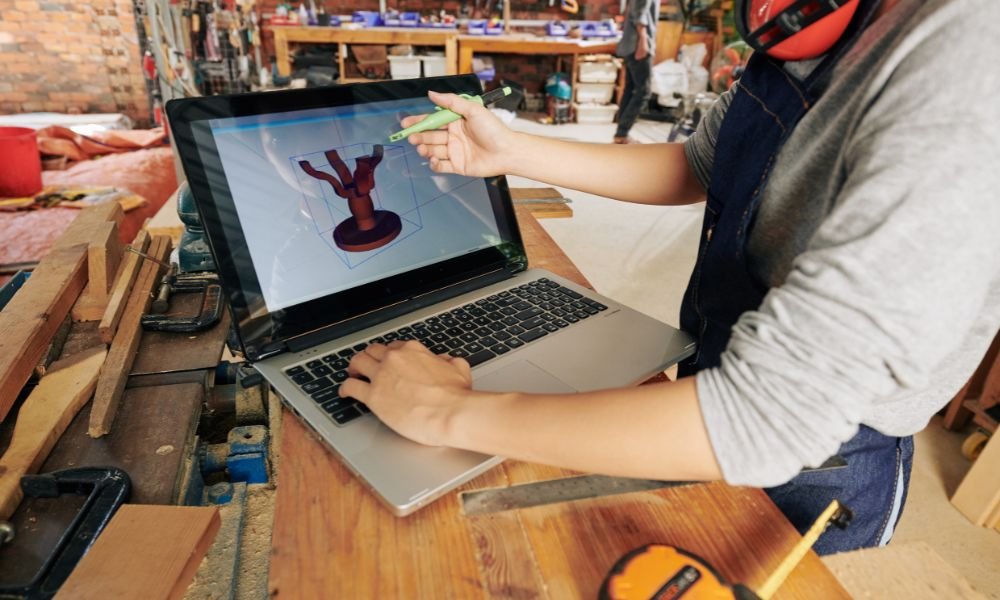
The first step in how to create stunning 3D models is selecting the right software for your needs. Different 3D modeling programs offer unique features, so it’s important to pick one that fits your project goals. If you’re just starting, try easy-to-use programs like Tinkercad or SketchUp. These tools are perfect for beginners and allow you to quickly get started with basic shapes and designs.
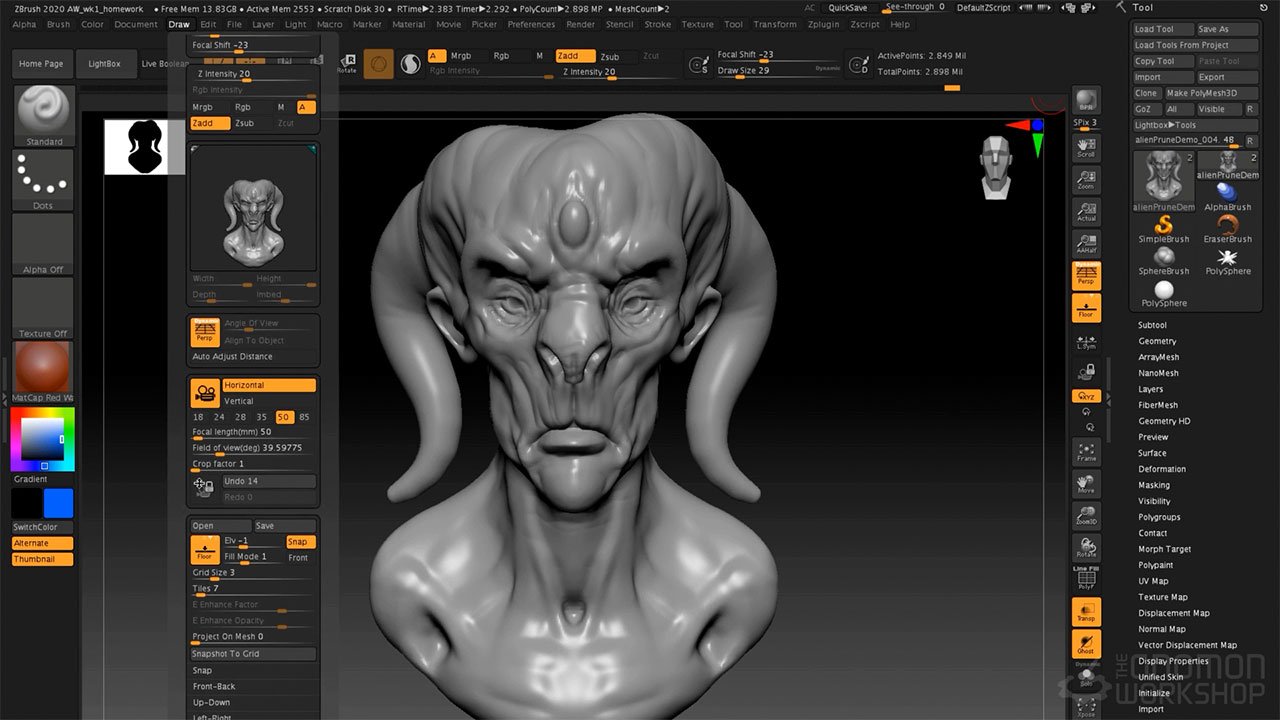
On the other hand, if you’re more experienced, you can explore advanced software like Blender or Autodesk Maya. These tools offer a wider range of features, including sculpting, rendering, and texturing. Whatever software you choose, make sure it matches your skill level and the type of 3D model you want to create.

2. Start With Basic Shapes
Once you’ve selected your software, the next step in how to create stunning 3D models is to begin with basic shapes. Every 3D model starts with simple objects like cubes, spheres, and cylinders. You can manipulate these shapes to form the structure of your model.
For example, if you’re designing a car, you can begin by creating a rectangular shape for the body and add cylinders for the wheels. Working with simple shapes makes it easier to focus on the overall design before adding details. Always remember that the foundation is important; creating a strong base will help you add more complexity later.
3. Refine Your Model
After you have the basic shape in place, it’s time to refine your model. This step is crucial in how to create stunning 3D models. Refining your design means adding more detail and adjusting the shapes. Most 3D modeling software has tools for scaling, rotating, and combining shapes.
To add more realism, focus on curves and smoothing. For example, if you are designing a chair, you can round the edges and make the surfaces smoother. Use the sculpting tools available in your software to manipulate the shape and achieve the look you want. Refining your model is where your design starts to take form and look more polished.
4. Use Textures and Materials
Textures and materials are essential when learning how to create stunning 3D models. Once your basic model is refined, you can apply textures to give it a more realistic appearance. Textures can range from simple colors to complex images like wood grain, metal, or fabric.
Materials are used to define how the surface interacts with light. For example, you might want a shiny metal look for a car, or a rough surface for a stone sculpture. These textures and materials can help bring your model to life by giving it depth and realism. Make sure to experiment with different options to find the best look for your model.
5. Focus on Lighting and Shadows
Lighting and shadows play a big role in how to create stunning 3D models. Good lighting can highlight the best parts of your model and create depth. Most 3D modeling software allows you to adjust the position, strength, and color of the light source. By setting up proper lighting, you can make your model look more dynamic and eye-catching.
Shadows also add depth to your design. Experiment with different lighting setups to find the best effect. For example, in a scene where you’re designing a house, shadows can make the windows and walls look more three-dimensional. Always pay attention to how light and shadow interact to make your models more realistic.
6. Render Your Model
After refining your model and setting up lighting, the next step in how to create stunning 3D models is rendering. Rendering is the process of creating a final image or animation of your 3D design. This process involves the software turning your model into a 2D image by calculating how light interacts with the surfaces of your model.
Depending on your software, rendering can take some time, but it’s worth the wait for a polished result. In this step, you can adjust the quality settings to make the image clearer and more detailed. Experiment with different rendering options to find the perfect look for your project.
7. Export and Share Your Model
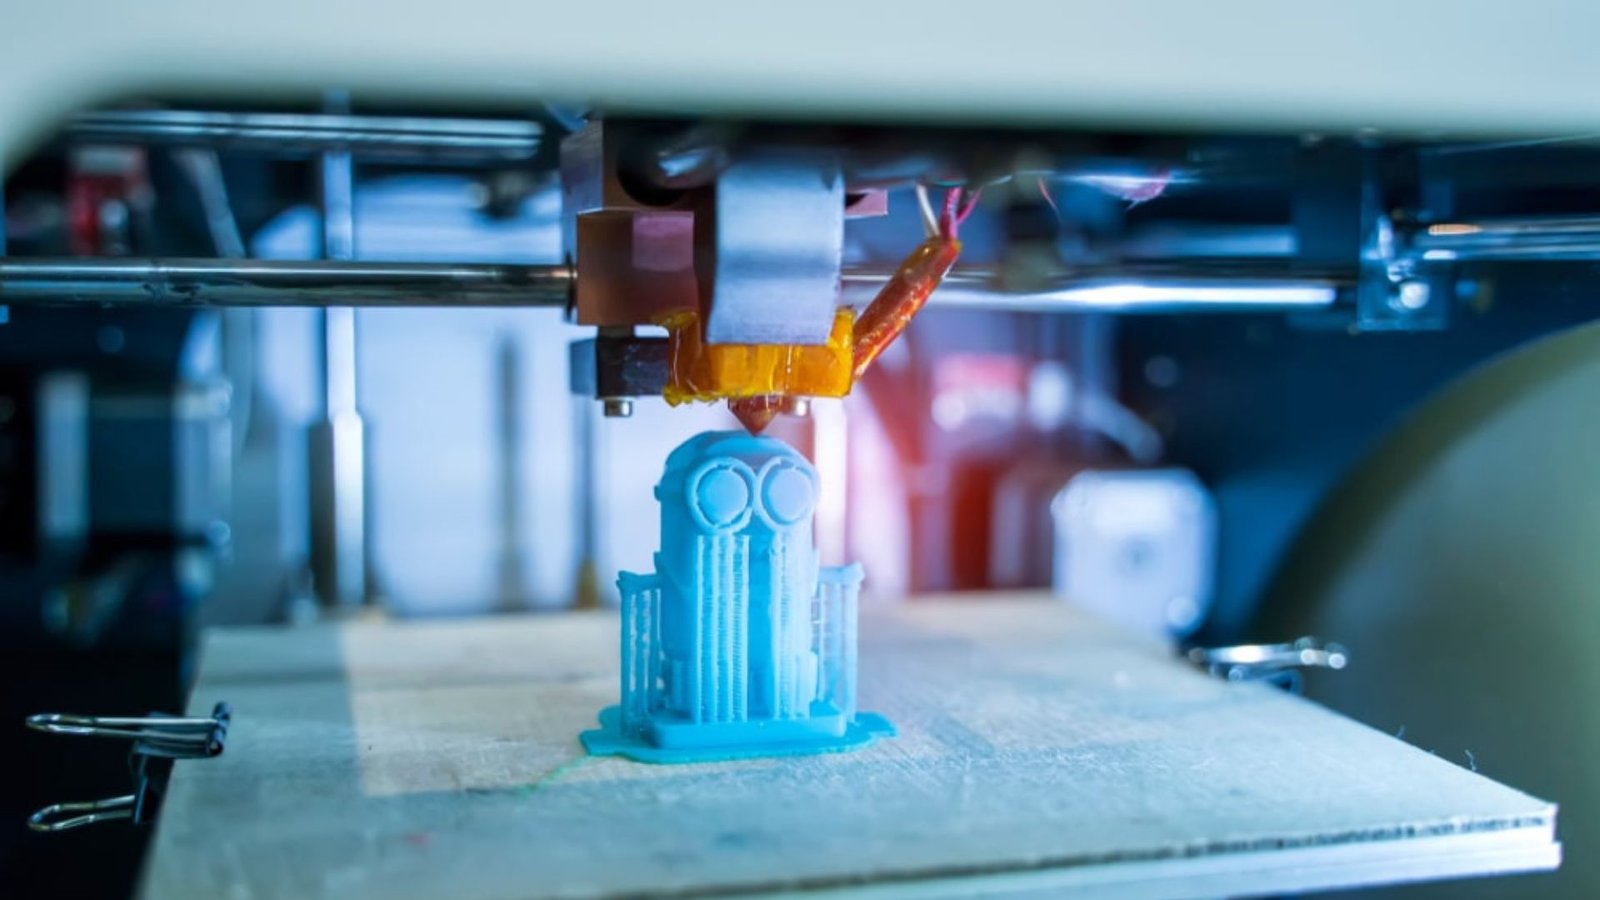
The final step in how to create stunning 3D models is exporting and sharing your work. Once you are happy with your 3D model, you can export it in various file formats, depending on how you want to use it. For example, if you plan to 3D print your design, export it as an STL or OBJ file.
If you want to share your model online, consider uploading it to platforms like Sketchfab, where other designers and 3D enthusiasts can view and interact with it. You can also use your model in games, animations, or even virtual reality environments.
Conclusion
In conclusion, learning how to create stunning 3D models involves mastering a few key steps: choosing the right software, starting with basic shapes, refining your design, adding textures and materials, and adjusting lighting and shadows. Once you have your model looking great, render it and share it with the world.
By following these steps, you can improve your skills and start creating professional-quality 3D models. Whether you’re designing for animation, games, or 3D printing, mastering the basics will help you create stunning models that stand out. Start practicing today, and soon you’ll be able to bring your ideas to life in 3D!