
In today’s digital world, 3D graphics have revolutionized video production. Whether you’re creating a commercial, a music video, or a feature film, understanding how to use 3D graphics in video production can elevate your projects to a whole new level. These dynamic visuals not only captivate viewers but also add depth and professionalism to your work. In this article, we’ll guide you through the key steps and techniques for incorporating 3D graphics into your video production process.
What Are 3D Graphics in Video Production?
3D graphics are visuals created in a three-dimensional space, giving depth and realism to digital content. Unlike traditional 2D visuals, 3D graphics allow for more dynamic animations, realistic textures, and lifelike lighting effects. When used in video production, they can bring abstract ideas to life, enhance storytelling, and provide stunning visual effects.
Start with a Clear Vision
Before adding 3D graphics to your project, you need a clear vision of what you want to achieve. Ask yourself:
- What role will 3D graphics play in the video?
- Do they serve to explain a concept, create an atmosphere, or add visual appeal?
Having a defined goal ensures your graphics align with the overall narrative and purpose of the video. This clarity is essential for effectively learning how to use 3D graphics in video production.
Choose the Right Software
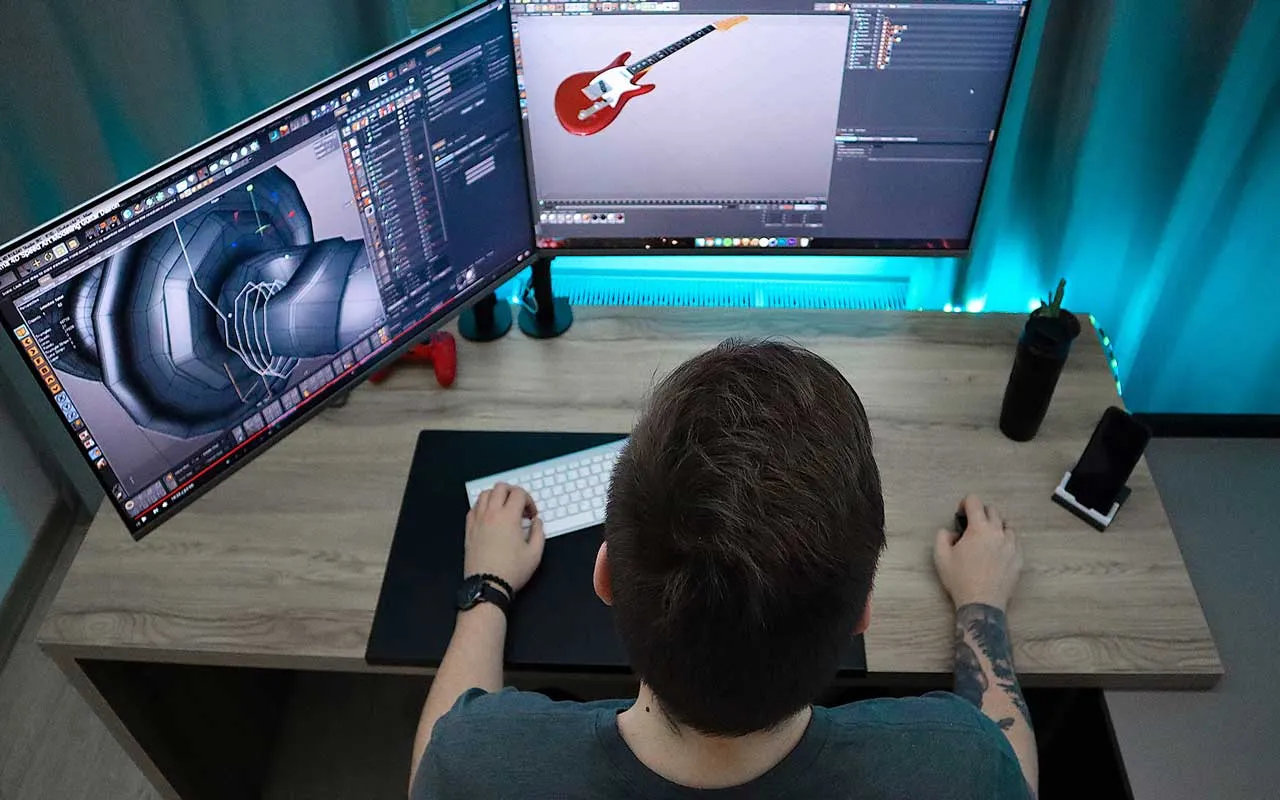
The success of your 3D graphics largely depends on the tools you use. Popular software like Blender, Maya, and Cinema 4D are great options for creating professional-quality 3D visuals. Each platform offers unique features, so choose one that suits your project’s needs and your skill level. For beginners, tools with user-friendly interfaces can make the process easier to manage.
Focus on Storytelling
3D graphics are not just about looking good; they should serve the story. For instance, in an educational video, 3D animations can illustrate complex concepts more effectively than text or static images. In a film, 3D effects can create immersive environments that transport viewers into the story. By focusing on storytelling, you ensure your graphics enhance rather than overshadow the content.
Use Lighting and Textures Wisely
Lighting and textures are critical components of 3D graphics. They determine how realistic your visuals appear and how well they fit into the overall video. Proper lighting creates depth, while detailed textures add authenticity. For example, if you’re designing a 3D car, realistic textures for the metal and appropriate lighting for reflections will make it more convincing.
When mastering how to use 3D graphics in video production, remember that subtle adjustments in lighting and textures can make a huge difference.
Integrate Graphics Seamlessly
Your 3D graphics should blend naturally with the rest of the video. This means matching the color grading, lighting, and style of the footage. For example, if your video is shot in a warm, sunny environment, ensure your 3D elements reflect the same lighting and tones. Seamless integration prevents the graphics from looking out of place or artificial.
Enhance Engagement with Animation
Animation breathes life into your 3D graphics. Movement adds energy and helps convey information more effectively. For instance, in a product video, animating a 3D model of the product allows viewers to see it from all angles. Smooth transitions, rotations, and effects keep viewers engaged and highlight key features.
Keep It Simple
While 3D graphics can be visually impressive, overloading your video with excessive effects can overwhelm viewers. Simplicity is key. Focus on using 3D elements that enhance your message rather than distract from it. A clean, well-thought-out design often has a greater impact than a cluttered, overly complicated one.
Test and Optimize
After integrating 3D graphics into your video, take the time to review and test the final product. Watch the video from a viewer’s perspective to identify any inconsistencies or areas for improvement. Feedback from others can also help fine-tune the graphics and ensure they meet the intended goals. Testing is a vital step in understanding how to use 3D graphics in video production effectively.
Stay Updated with Trends
The world of 3D graphics is constantly evolving, with new tools and techniques emerging regularly. Staying updated on the latest trends helps you keep your videos fresh and innovative. Whether it’s experimenting with real-time rendering or incorporating virtual reality, exploring advancements in 3D technology can set your work apart.
Conclusion
Incorporating 3D graphics into video production is a powerful way to enhance your projects. By starting with a clear vision, using the right tools, and focusing on storytelling, you can create visuals that captivate and engage your audience. Whether you’re a seasoned professional or just starting out, these steps will guide you in mastering how to use 3D graphics in video production. Remember, the key to success lies in balancing creativity with functionality, ensuring your graphics always serve the story.