Creating realistic 3D characters is one of the most challenging yet rewarding tasks for digital artists. Whether for video games, movies, or virtual reality experiences, the process involves a combination of artistic skill and technical knowledge. From sculpting the basic form to adding fine details, 3D artists follow a systematic workflow to produce lifelike characters. This article explores the essential steps that go into creating realistic 3D characters and the tools and techniques used to achieve photorealistic results.
Concept Design and Reference Gathering
Starting with the Basics
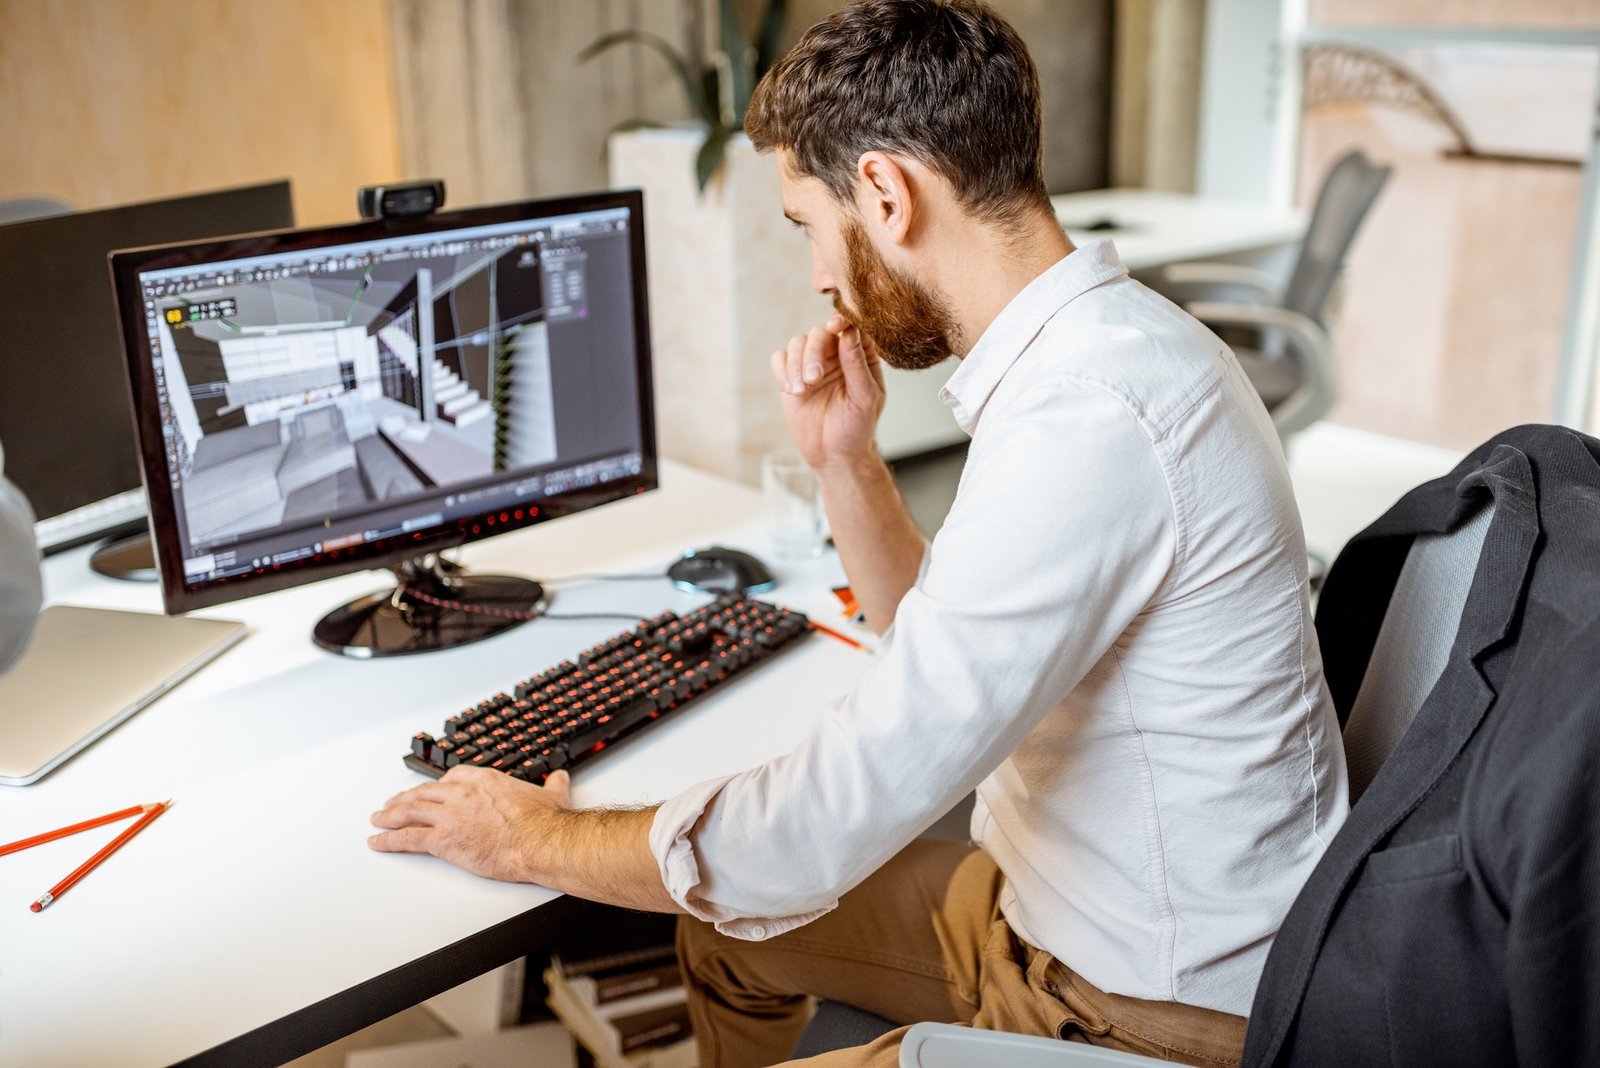
Before diving into any 3D modeling software, 3D artists begin with concept design and research. Creating a realistic character begins with understanding the personality, backstory, and purpose of the character. Is it a hero in a video game? A monster in a movie? Or a real-world human figure? Concept sketches help define the character’s silhouette, posture, facial features, and overall appearance.
Gathering References
Reference materials are crucial for ensuring that the character’s proportions and details are accurate. Artists gather high-quality images or video references of the subject they’re modeling—whether they’re based on real humans, animals, or entirely fictional beings. This can include anatomy references, clothing, facial expressions, and environmental factors that influence the character’s design.
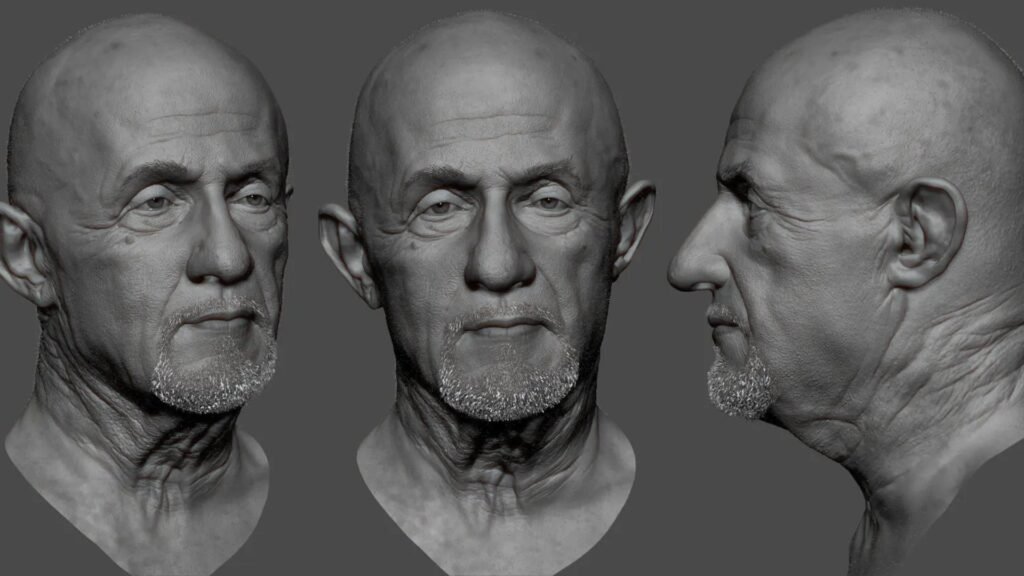
Tip: Use 360-Degree References
For realistic characters, reference images from multiple angles (front, side, and top views) are vital to ensure symmetry and accuracy in modeling.
Sculpting the Base Model
Starting with a Basic Shape
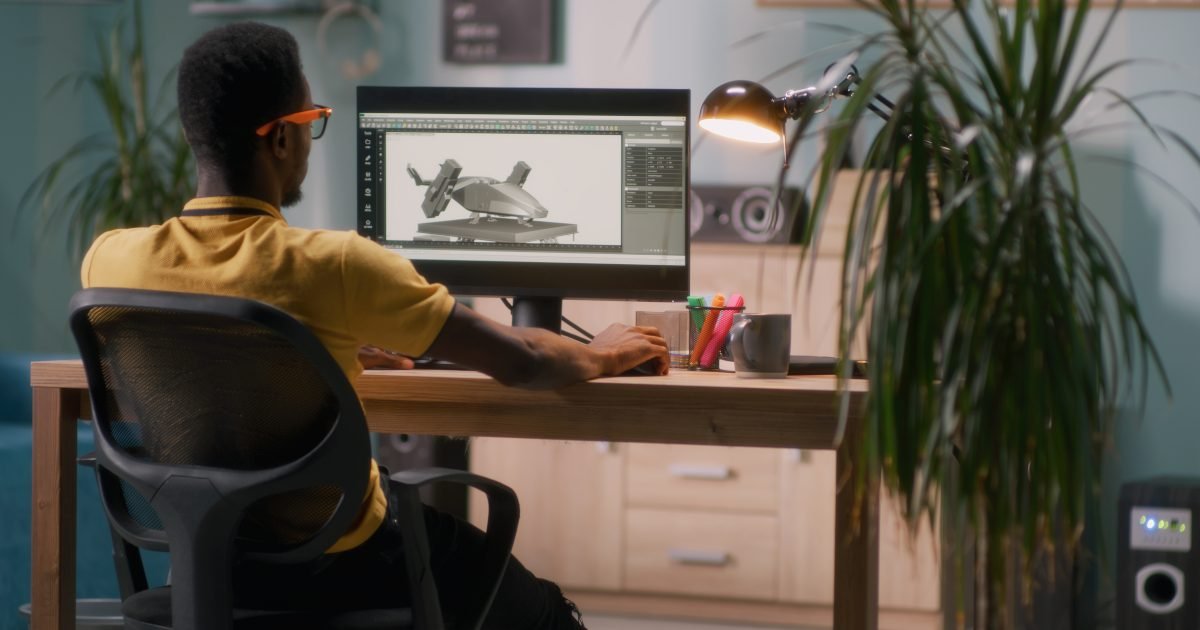
The first step in creating a 3D character model is sculpting the base mesh. Artists often begin with a simple shape (like a sphere or cube) and use 3D modeling software such as ZBrush, Blender, or Maya to gradually build out the character’s form. This is known as “block-out” modeling, where the artist focuses on the general silhouette and proportions rather than details.
Refining with Detail
Once the base shape is defined, the artist moves on to sculpting the finer details—muscle structure, skin folds, and other anatomy details. This process can take a significant amount of time, especially when it comes to human characters, as realistic human anatomy requires careful attention to detail.
Tip: Use Dynamic Subdivision
Tools like ZBrush allow for dynamic subdivision, which lets you work on high-resolution details without losing the ability to make broad adjustments to the model’s shape. This technique is especially useful for achieving realistic textures on skin and clothing.
Creating Topology and Retopology
From High Poly to Low Poly
While sculpting in high poly allows for detailed work, this kind of model is often too complex to use in real-time applications (like video games) or animation. Retopology is the process of creating a lower-poly version of the character while retaining the details and shape from the high-poly model.
This step is crucial because a lower-poly model performs better in real-time applications, reducing rendering time and improving performance without sacrificing visual quality.
Tip: Use Retopology Tools
Software like Topogun and Blender’s Retopology tools simplify the process of creating clean, efficient topology for the low-poly model.
UV Mapping and Texturing
Unwrapping the Model
UV mapping is the process of unwrapping a 3D model’s surface into a 2D space so textures can be applied accurately. The unwrapped model will have a series of 2D surfaces that match the 3D shapes, allowing textures to wrap around it like a skin. UV mapping ensures that every part of the model has corresponding areas for textures and details.
Painting Textures
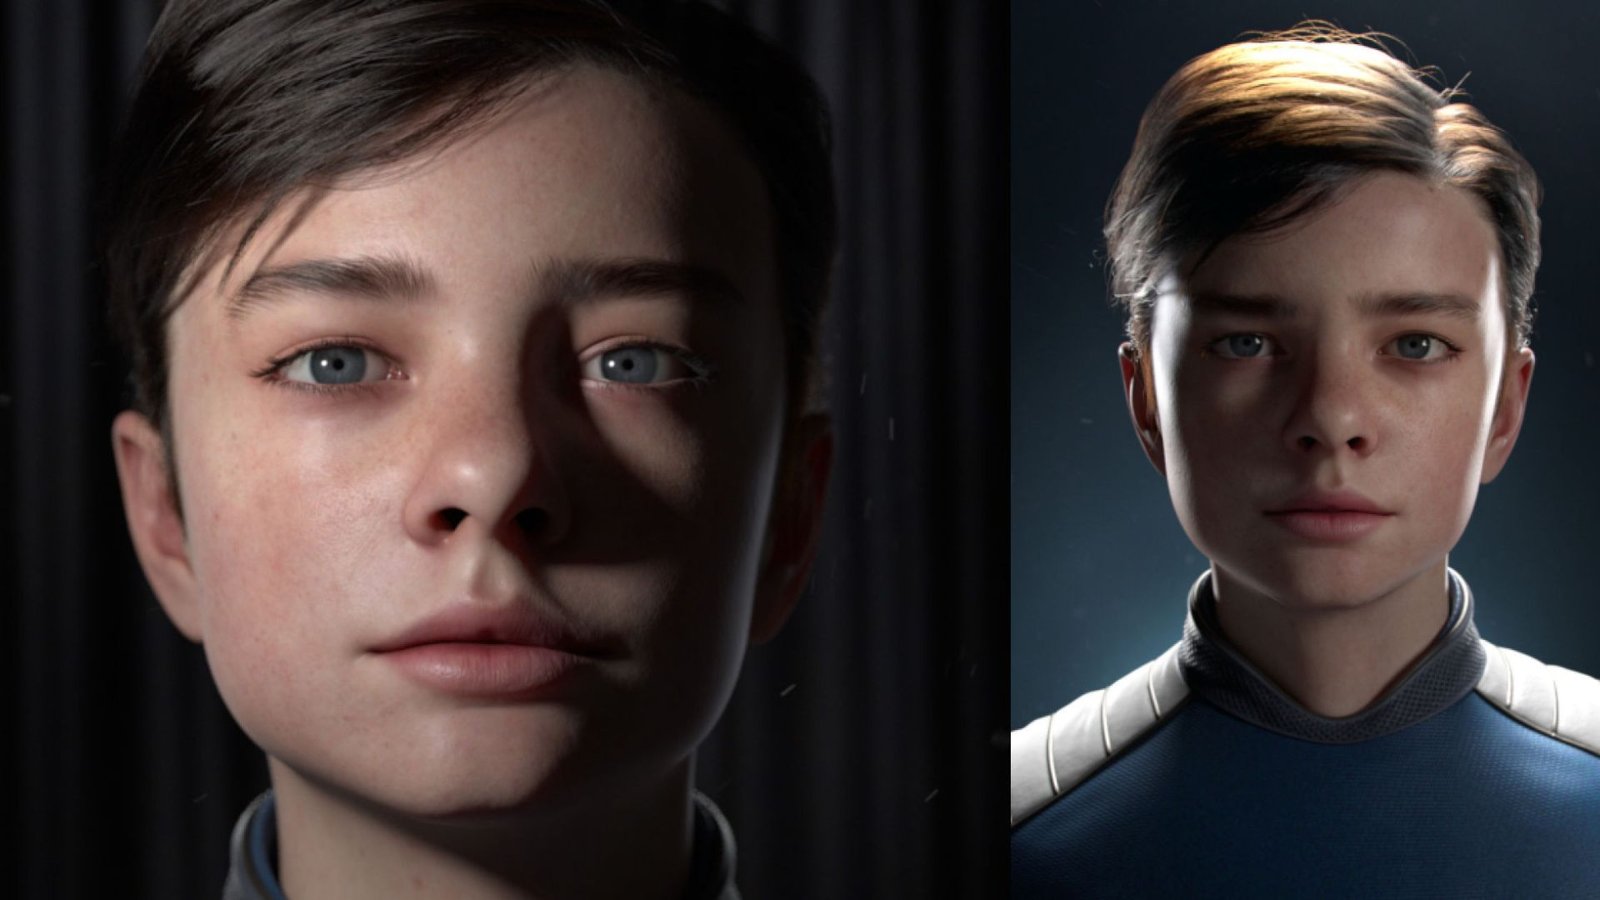
Texturing is where the character truly begins to come to life. Artists use programs like Substance Painter, Mari, or Photoshop to paint detailed textures. These textures simulate surface features like skin pores, wrinkles, scars, and the natural color variations that make the character look realistic.
Textures may include:
- Diffuse Maps: The base color of the model.
- Specular or Roughness Maps: Simulate how shiny or matte different surfaces are.
- Normal Maps: Add the illusion of fine details, like wrinkles or pores, without increasing the polygon count.
- Displacement Maps: Add depth and detail by physically altering the model’s surface.
Tip: Bake Textures for Efficiency
To optimize the texturing process, many artists “bake” details from the high-poly model onto the low-poly model. This way, complex details like wrinkles or pores are transferred into texture maps, keeping the model light while still looking realistic.
Conclusion
Creating realistic 3D characters involves a complex and detailed process that blends artistic vision with technical skill. From gathering references and sculpting the base mesh to texturing, rigging, and rendering, each step plays a vital role in bringing a character to life. By mastering these techniques, 3D artists can produce stunning, lifelike characters that captivate and engage audiences across various industries, from gaming and film to virtual reality and beyond.