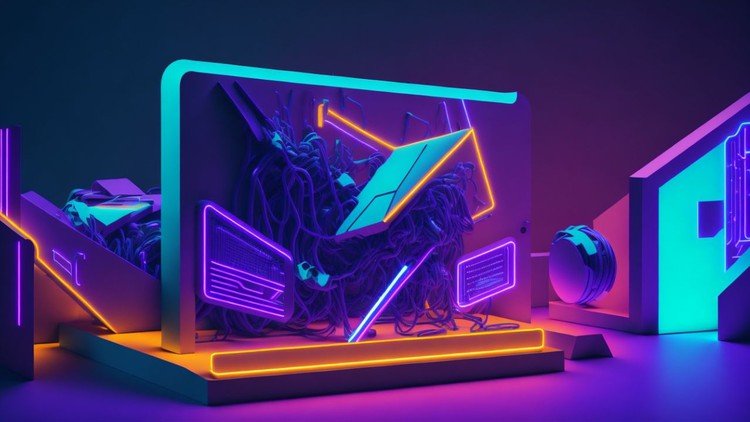
3D rendering is the backbone of computer graphics, playing a crucial role in creating everything from realistic visualizations to animated scenes in movies and games. Whether you’re designing a product, visualizing architectural structures, or working on a film, mastering the art of 3D rendering is essential to achieve high-quality, photorealistic images. This guide will outline the best practices for 3D rendering to help you optimize your workflow, improve realism, and create stunning visual content.
Plan and Prepare Your Scene
Before diving into the actual rendering process, it’s important to carefully plan and prepare the 3D scene. Proper scene setup is key to achieving better results while saving time in post-production.
Key Considerations:
- Scene Composition: Plan the layout and focal points of the scene to ensure that the most important elements are highlighted. This involves considering the perspective, camera angles, and placement of objects.
- Real-World References: Study real-world references such as lighting, materials, and textures to understand how objects behave in natural environments. This knowledge will guide you in making your renders more believable.
- Optimization: Keep in mind that scenes with excessive geometry or overly complex models can slow down rendering time. Use low-poly models and optimize geometry to speed up the process without sacrificing quality.
Master Lighting for Realism
Lighting is one of the most crucial aspects of 3D rendering. It plays a huge role in setting the mood and realism of the scene. Proper lighting can make even the most basic 3D model look photorealistic.
Lighting Techniques:
- Use Three-Point Lighting: Three-point lighting (key light, fill light, and backlight) is a classic method used to create balanced and natural-looking lighting in 3D renders.
- Use HDRi (High Dynamic Range Imaging): HDRi lighting is perfect for creating realistic environmental lighting in outdoor scenes. It captures the full range of light intensity in a scene, giving a more accurate result.
- Simulate Natural Light: If your scene involves windows or outdoor elements, make sure to simulate how sunlight interacts with the scene. Pay attention to soft shadows, reflections, and how light bounces off different surfaces.
- Use Light Falloff: Light doesn’t travel infinitely in real life; it fades as it moves away from the source. Implement light falloff to add realism to your renders.
Lighting should match the mood you want to convey in the scene, whether it’s warm and inviting or cold and eerie.
Choose the Right Materials and Textures
To make your 3D renderings look realistic, the materials and textures you apply to your models must behave as they would in the real world. Realistic materials and textures can make a significant difference in how a scene is perceived.
Material & Texture Tips:
- Use Physically-Based Rendering (PBR): PBR is a shading model that simulates how light interacts with surfaces based on their material properties. It helps achieve realistic results, especially in terms of reflections and surface imperfections.
- High-Quality Textures: Use high-resolution textures to ensure your models are detailed and lifelike. Textures with correct bump, normal, and displacement maps will make your models look more detailed and natural.
- Tiling Textures and UV Mapping: Ensure that your textures tile seamlessly and are applied correctly using UV mapping techniques. This minimizes texture stretching and creates a more uniform and realistic appearance.
- Reflections and Refraction: For materials like glass, water, or metal, use accurate reflection and refraction settings. Materials like glass and water require ray tracing to simulate how light interacts with them.
The more accurately you replicate the behavior of materials, the more lifelike your render will appear.
Optimize Render Settings
While it’s tempting to go for the highest quality settings in every render, rendering can be a time-consuming and resource-heavy process. Therefore, it’s important to optimize your render settings without compromising quality.
Optimization Tips:
- Resolution: Start by rendering at a smaller resolution for testing purposes. Once the scene is set, increase the resolution for the final render. You can also use a render farm or cloud rendering services for large-scale projects.
- Render Samples: Increase the number of samples for anti-aliasing and global illumination to reduce noise in the final image. However, don’t overdo it, as it can lead to unnecessarily long render times.
- Use Layers and Passes: Rendering in layers or passes (e.g., separate passes for reflection, shadows, and ambient occlusion) allows you to adjust different aspects of the render in post-production, saving time and effort.
- Denoising: Use denoising filters in your render settings to reduce noise in the final image without requiring excessive samples, which can speed up render time.
Conclusion
Mastering 3D rendering is essential for creating high-quality visuals that capture the imagination of your audience. By following these best practices—ranging from proper scene preparation and lighting to optimization and post-processing—you can ensure that your 3D renders are not only visually stunning but also efficient and realistic.